Pico_zero-based_tutorial
This tutorial is based on the C1K0001 4in1 basic learning kit.
This tutorial only focuses on practical operation, without the need to understand the principles, and understands the simplest Pico programming operation, so that learners can get a sense of achievement and arouse their interest.
Prepared knowledge
Pico and Thonny basics:
If you don’t have Pico and Thonny basics, you can follow the link to learn the basics: Click Me
Download example code:
Please download the example code on Github: https://github.com/Mosiwi/Mosiwi-basic-learning-kit

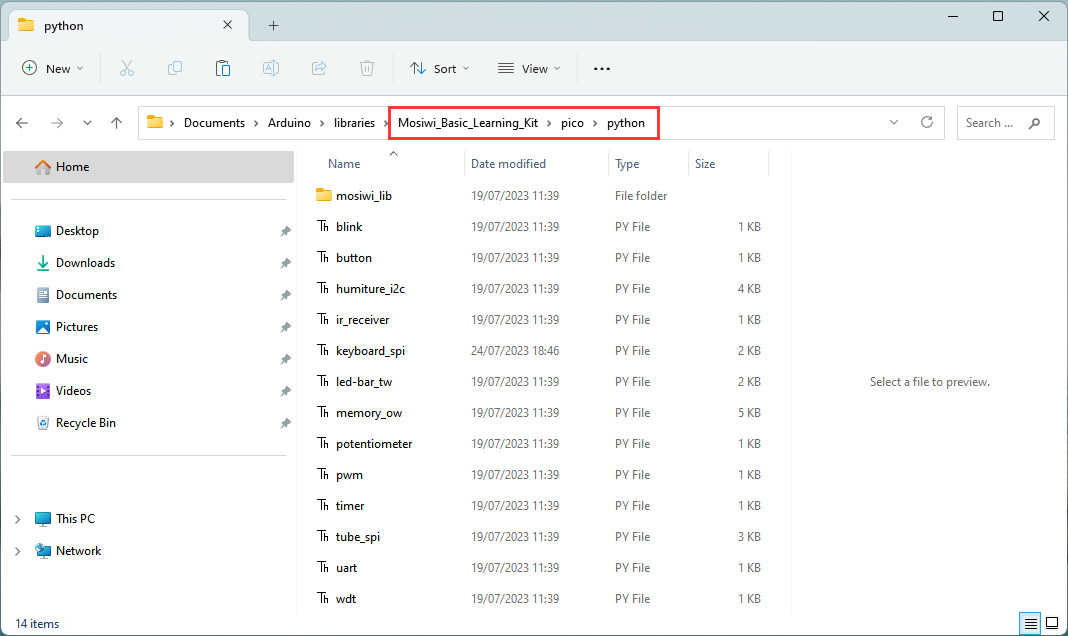
Unzip the file downloaded above, and the file in the “pico->microPython” folder is the example code.
Tip
If you’ve already done some of the steps above, you don’t need to go through the steps you’ve already done.
Wiring diagram
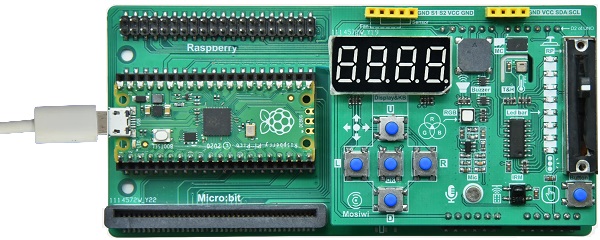
Basic_chapter Blink
Objective:
Open the example code.
Upload and run code.
Verify that the pico motherboard works.
Demonstration:
Open the “blink.py” file as follows:
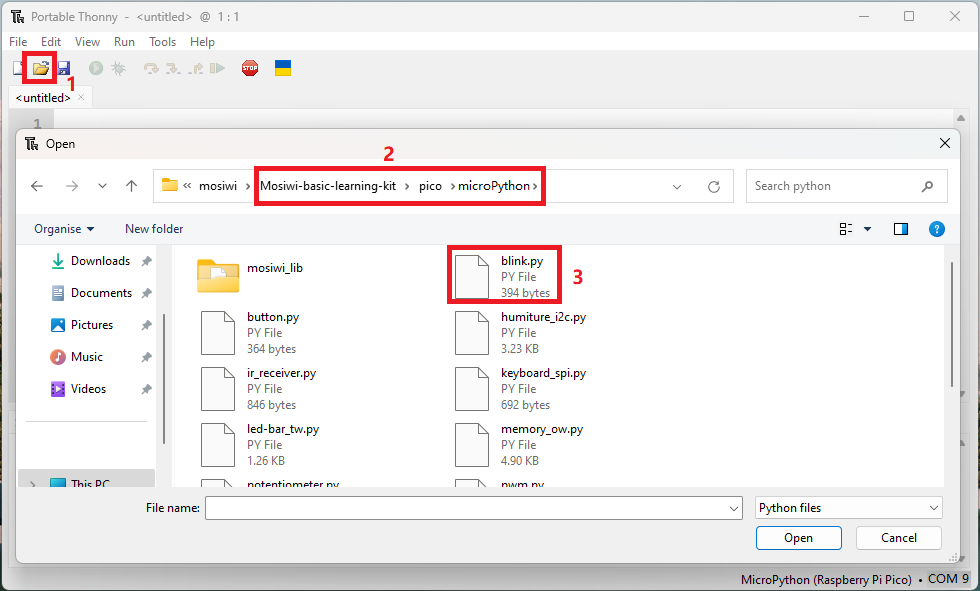
Make sure your Raspberry PI Pico’s USB is plugged into your computer’s USB via a usb cable, then click on “Python” and the version number in the bottom right corner of the Thonny window, then select “MicroPython(Raspberry PI Pico). COMx” .

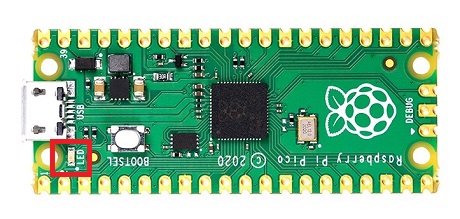
After running the code, the LED on the pico board lights up every 1 second:
Chapter1 Button
Open the example code: “button.py”
Open the example code using the methods in “Basic_example”.
Run the example code.
Example code phenomena:
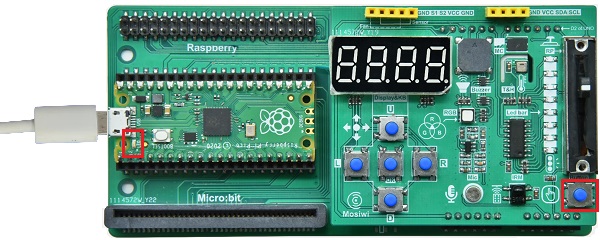
After uploads the code, the led on the Pico is always off, and if the “Button” on the extension board is pressed, the LED is turned on.
Chapter2 Buzzer
Open the example code: “buzzer.py”
Open the example code using the methods in “Basic_example”.
Run the example code.
Example code phenomena:
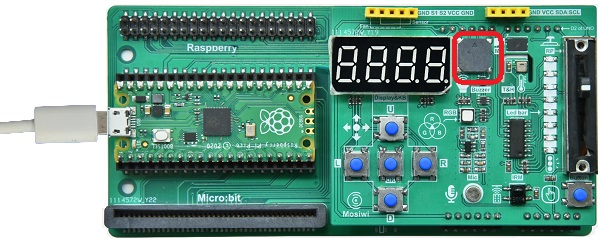
After uploading the code, the buzzer on the expansion board will keep beeping with a fixed frequency and different volumes.
Chapter3 RGB LED
Open the example code: “rgb-led_pwm.py”
Open the example code using the methods in “Basic_example”.
Run the example code.
Example code phenomena:
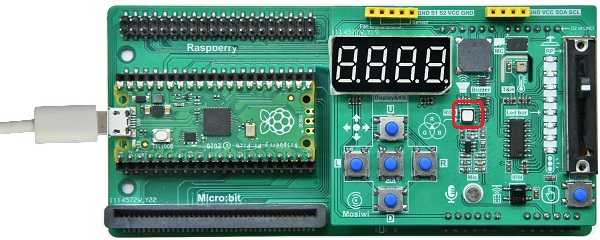
The RGB LED light cycle emits red, green and blue lights.
Chapter4 Potentiometer
Open the example code: “potentiometer.py”
Open the example code using the methods in “Basic_example”.
Run the example code.
Example code phenomena:
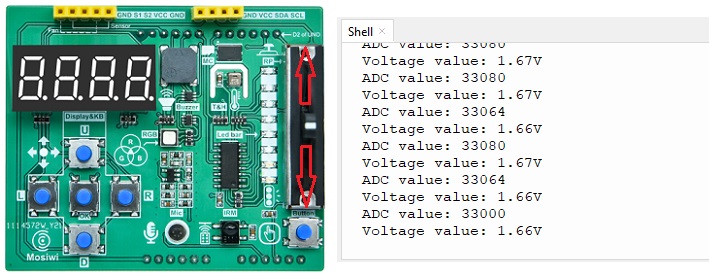
Push the potentiometer up and down, and the terminal prints the corresponding analog value and voltage value.
Chapter5 Microphone
Open the example code: “microphone.py”
Open the example code using the methods in “Basic_example”.
Run the example code.
Example code phenomena:
After running the code, the terminal prints the analog value of the amplified sound and the voltage value.

Chapter6 Led-strip
Open the example code: “led-strip_tw.py”
Open the example code using the methods in “Basic_example”.
Run the example code.
Example code phenomena:
The LED strip on the expansion board turns on and off in cycles.

Chapter7 Keyboard
Open the example code: “keyboard_spi.py”
Open the example code using the methods in “Basic_example”.
Run the example code.
Example code phenomena:
Press the keyboard on the expansion board, and the terminal will print the value of the keyboard.
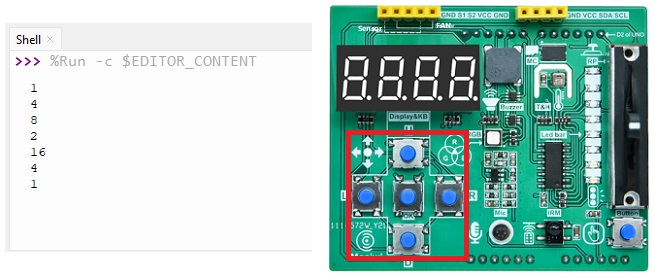
U |
D |
L |
R |
OK |
|---|---|---|---|---|
16 |
8 |
4 |
2 |
1 |
Chapter8 4-bit 8-segment digital tube
Open the example code: “tube_spi.py”
Open the example code using the methods in “Basic_example”.
Run the example code.
Example code phenomena:
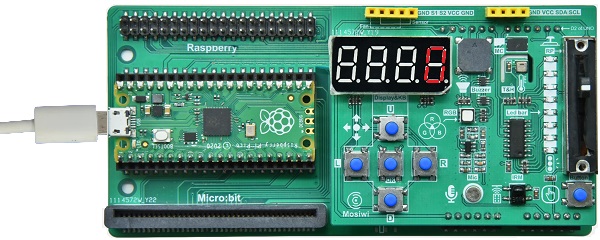
The 4-bit 8-segment nixie shows 0-9999, then 999.9, and so on.
Chapter9 Temperature and humidity sensor
Open the example code: “humiture_i2c.py”
Open the example code using the methods in “Basic_example”.
Run the example code.
Example code phenomena:
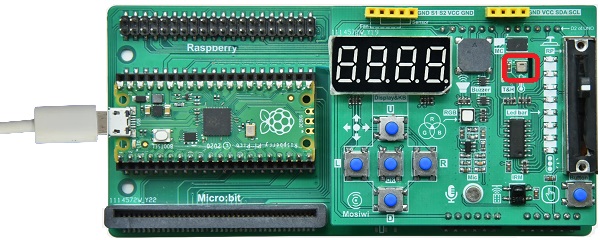
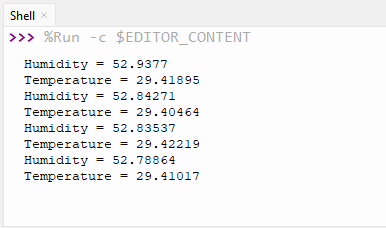
The terminal will print the temperature and humidity values of the current environment.
End!